
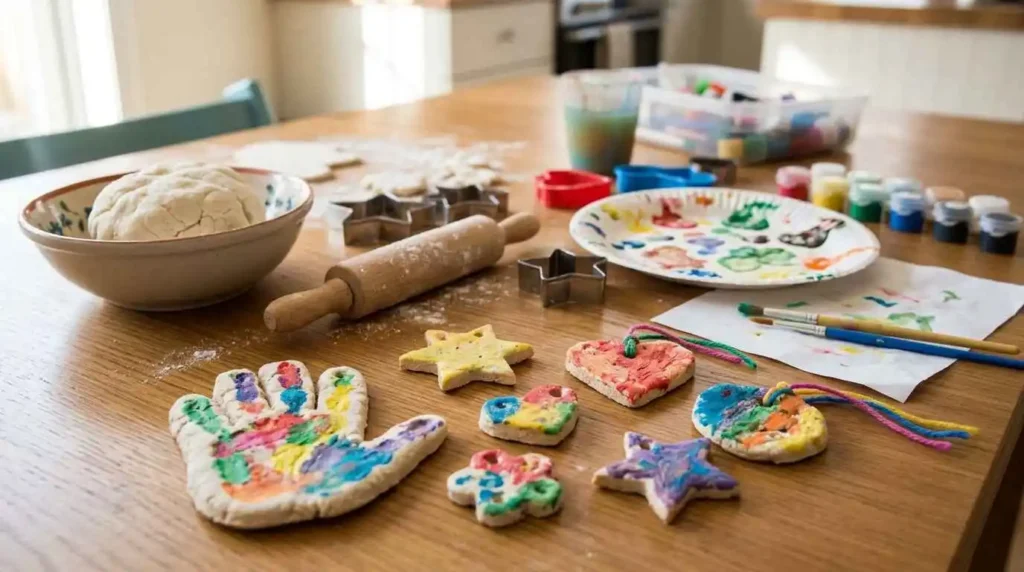
Salt dough is one of the easiest homemade craft materials that children can make and enjoy. With just a few simple ingredients from your kitchen, you can create a soft dough that can be shaped into different decorations, keepsakes, and creative projects.
A salt dough recipe for kids crafts is a great activity for families, teachers, and beginners because it is affordable, simple, and does not require special craft supplies. Children can use their imagination to create animals, ornaments, handprint keepsakes, and many other handmade items.
The best part about salt dough crafts is that kids can be involved in the whole creative process. They can help mix the ingredients, shape the dough, and decorate their finished creations with colors and designs.
Unlike many store bought craft materials, homemade salt dough allows children to explore creativity while learning new skills. It is a fun way to spend time together and create meaningful handmade memories.
In this guide, you will learn what salt dough is, why it is popular for kids crafts, what ingredients you need, and how to prepare everything before starting your first project.
What Is Salt Dough?
Salt dough is a homemade modeling material made from simple ingredients like flour, salt, and water.
It has a soft texture that makes it easy to shape into different forms. After creating a design, the dough can be dried and decorated with paint, markers, or other craft materials.
Salt dough is commonly used for making:
• Ornaments
• Handprint keepsakes
• Animal shapes
• Decorative pieces
• Small gifts
• Holiday crafts
The main reason salt dough is popular is because it is easy to make at home. Parents and teachers can prepare it quickly without needing expensive materials or special equipment.
The dough works similarly to clay because children can roll, cut, press, and shape it into different designs. However, salt dough is created using basic household ingredients, making it a budget friendly craft option.
Many families enjoy making salt dough crafts because the projects can become special memories. For example, a child’s handprint pressed into salt dough can become a keepsake that parents save for years.
Salt dough is also a flexible craft material because it can be customized in many ways. You can change the appearance by adding colors, creating different shapes, or decorating the finished pieces.
It is suitable for many occasions, including:
• Birthday activities
• Classroom projects
• Holiday decorations
• Family craft days
• Seasonal crafts
While salt dough is simple to prepare, the final results can be very creative. A basic mixture of flour, salt, and water can become a handmade decoration with personal meaning.
Why Kids Love Salt Dough Crafts
Salt dough crafts are popular with children because they allow them to create something using their own hands.
The process is interactive and gives kids the freedom to experiment with shapes, textures, and designs.
Easy to Shape and Create
One of the biggest reasons children enjoy salt dough is that it is easy to work with.
Kids can use their hands and simple tools to create different designs.
They can:
• Roll the dough
• Press shapes
• Cut designs
• Add textures
• Create patterns
This makes salt dough suitable for younger children who are learning creative skills.
Uses Simple Materials
Salt dough crafts do not require expensive supplies.
The main ingredients are easy to find:
• Flour
• Salt
• Water
Most families already have these items at home, which makes salt dough an affordable craft activity.
Additional decorations can be added later depending on the project.
Encourages Creativity
Salt dough gives children the freedom to create their own ideas.
Instead of following only one design, kids can make crafts based on their imagination.
They can create:
• Their favorite animals
• Fantasy shapes
• Personal keepsakes
• Decorative items
This helps children develop creative thinking and confidence in their own ideas.
Creates Learning Opportunities
Salt dough activities can also help children learn while having fun.
During the process, kids can practice:
• Measuring ingredients
• Following instructions
• Improving hand coordination
• Developing patience
• Exploring colors and textures
Craft activities like this combine creativity with simple learning experiences.
Fun Family Activity
Making salt dough crafts is a great way for families to spend time together.
Parents and children can work on projects together by preparing the dough, creating designs, and decorating finished pieces.
Family craft time can create meaningful memories while encouraging children to express their creativity.
Ingredients Needed for Salt Dough
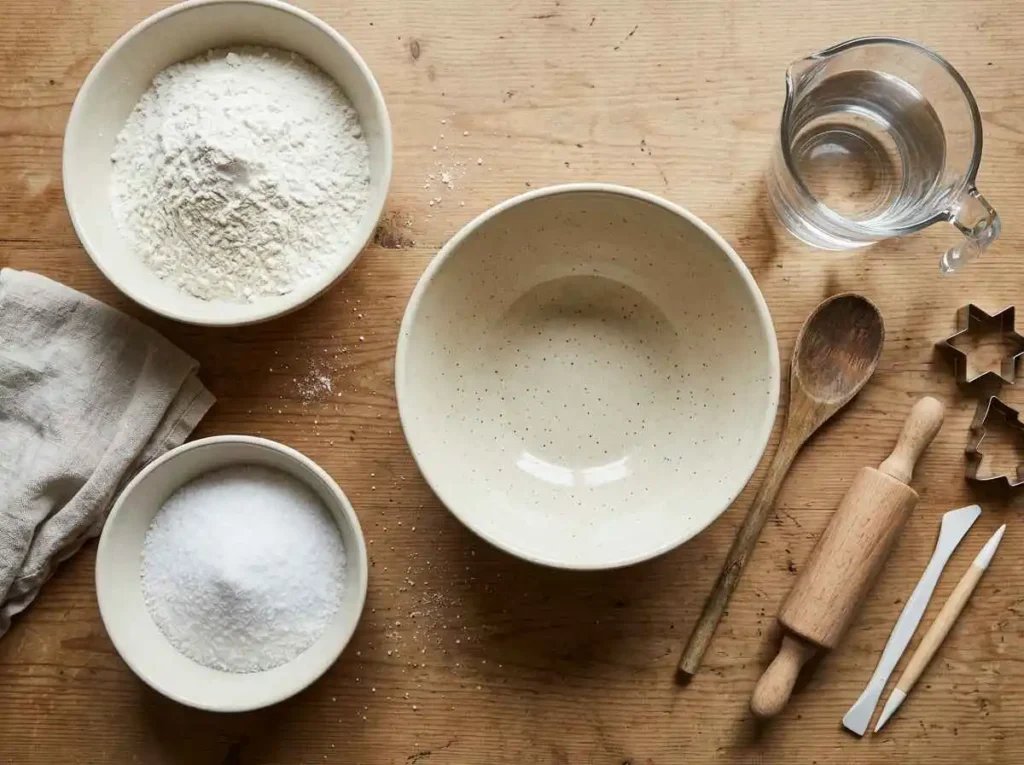
One of the best things about salt dough is that it requires only a few basic ingredients.
The recipe is simple, but using the correct amounts of each ingredient helps create dough with the right texture.
A good salt dough mixture should be soft, easy to shape, and strong enough to hold details.
Flour
Flour is the main ingredient that creates the structure of the dough.
Regular all purpose flour works well for most salt dough crafts because it creates a smooth and manageable texture.
The flour helps combine the other ingredients and gives the dough enough strength to hold different shapes.
When choosing flour, use:
• Plain all purpose flour
• Fresh flour without added ingredients
• A smooth flour texture
Avoid using flour that creates an unusual texture because it may affect the final dough consistency.
Salt
Salt is an important ingredient in salt dough because it helps improve the texture and durability of the mixture.
It also gives the dough its name.
Salt helps create a firmer dough that can hold shapes better after drying.
For the best results:
• Use regular table salt
• Mix it evenly with the flour
• Avoid leaving large salt pieces unmixed
A proper salt mixture helps create smoother crafts with better results.
Water
Water brings the flour and salt together to create the dough.
The amount of water used affects the final texture.
Adding too much water can make the dough sticky, while too little water can make it dry and difficult to shape.
Add water slowly while mixing until the dough reaches a soft consistency.
A good salt dough should be:
• Soft
• Flexible
• Easy to knead
• Not overly sticky
Optional Ingredients
While basic salt dough only needs flour, salt, and water, some optional ingredients can improve the crafting experience.
Oil
A small amount of oil can help make the dough smoother and easier to handle.
It may also help prevent the dough from becoming too dry while working with it.
Food Coloring
Food coloring can be added if you want colored dough before creating crafts.
This can be useful for projects where children want colorful shapes without painting afterward.
Essential Oils for Scent
Some people add a small amount of essential oil for a pleasant scent.
If using scented ingredients, make sure they are suitable for the intended use and avoid using anything that may irritate sensitive skin.
How to Make Salt Dough Step by Step
Making salt dough at home is a simple process that only requires a few ingredients and some basic preparation.
The most important part of making good salt dough is getting the right texture. The dough should be soft enough for children to shape but firm enough to hold details after drying.
Before starting, prepare a clean workspace and gather all your ingredients and tools. This will make the process easier and more enjoyable.
Follow these steps to create your own homemade salt dough.
Step 1: Measure the Ingredients
The first step is preparing the correct amount of ingredients.
Accurate measurements help create dough with the right consistency. If the mixture has too much water or not enough salt, the dough may become difficult to shape.
For a simple salt dough recipe, you need:
• Flour
• Salt
• Water
A common starting ratio is:
• 2 cups of flour
• 1 cup of salt
• About 1 cup of water
The amount of water may change slightly depending on the flour type and the environment.
Prepare all ingredients before mixing so the process stays organized.
Step 2: Mix Flour and Salt
Start by combining the flour and salt in a large mixing bowl.
Mix these dry ingredients together until the salt is evenly distributed throughout the flour.
This step is important because an even mixture creates smoother dough.
Use a spoon or your hands to combine the ingredients.
Make sure:
• There are no large salt clumps
• The mixture looks even
• The ingredients are well combined
Mixing the dry ingredients first helps create a better texture when water is added.
Step 3: Add Water Slowly
After mixing the flour and salt, slowly add water to the mixture.
Do not pour all the water at once because the dough can become too wet.
Add small amounts while stirring until the ingredients begin to come together.
The dough should start becoming:
• Soft
• Flexible
• Easy to handle
If the dough feels too dry, add a small amount of water.
If it feels too sticky, add a little more flour.
Finding the right balance is important for creating a dough that children can easily shape.
Step 4: Knead the Dough
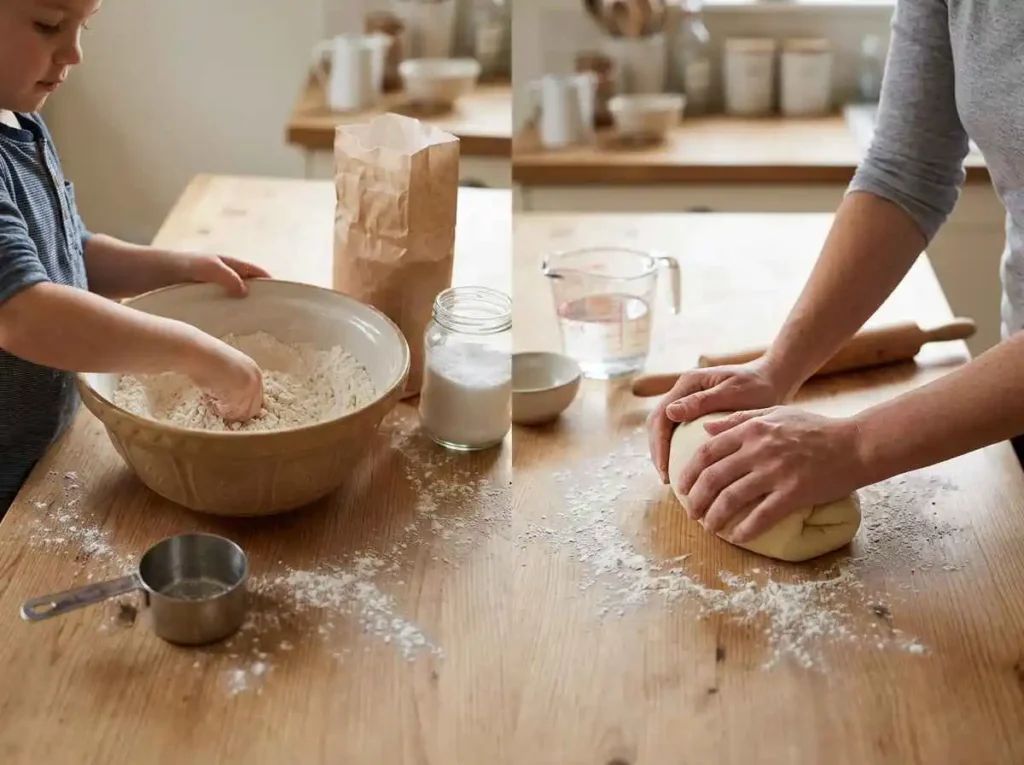
Once the dough starts forming, remove it from the bowl and begin kneading.
Kneading helps combine the ingredients and creates a smoother texture.
Place the dough on a clean surface and press, fold, and turn it repeatedly.
Continue kneading until the dough becomes:
• Smooth
• Soft
• Flexible
• Less sticky
This process usually takes a few minutes.
Children can enjoy helping with this step because working with the dough is one of the most fun parts of the activity.
If the dough sticks to your hands, add a small amount of flour.
If it cracks easily, add a few drops of water and knead again.
Step 5: Rest the Dough
Resting the dough is an optional step, but it can make shaping easier.
After kneading, place the dough in a covered bowl or wrap it properly.
Let it rest for a short time before starting your crafts.
Resting allows the ingredients to settle and creates a smoother texture.
This can help when making detailed designs because the dough becomes easier to work with.
Step 6: Create Your Crafts
Once the salt dough is ready, it is time to start creating.
Roll the dough flat or shape it by hand depending on your project.
You can use different tools to create designs, such as:
• Cookie cutters
• Rolling pins
• Stamps
• Small craft tools
• Household objects for textures
Popular beginner salt dough craft ideas include:
• Handprint ornaments
• Animal shapes
• Stars
• Hearts
• Flowers
• Seasonal decorations
Encourage children to experiment and create their own designs.
There is no need for every project to look perfect. The goal is to enjoy the creative process.
Easy Salt Dough Crafts for Kids
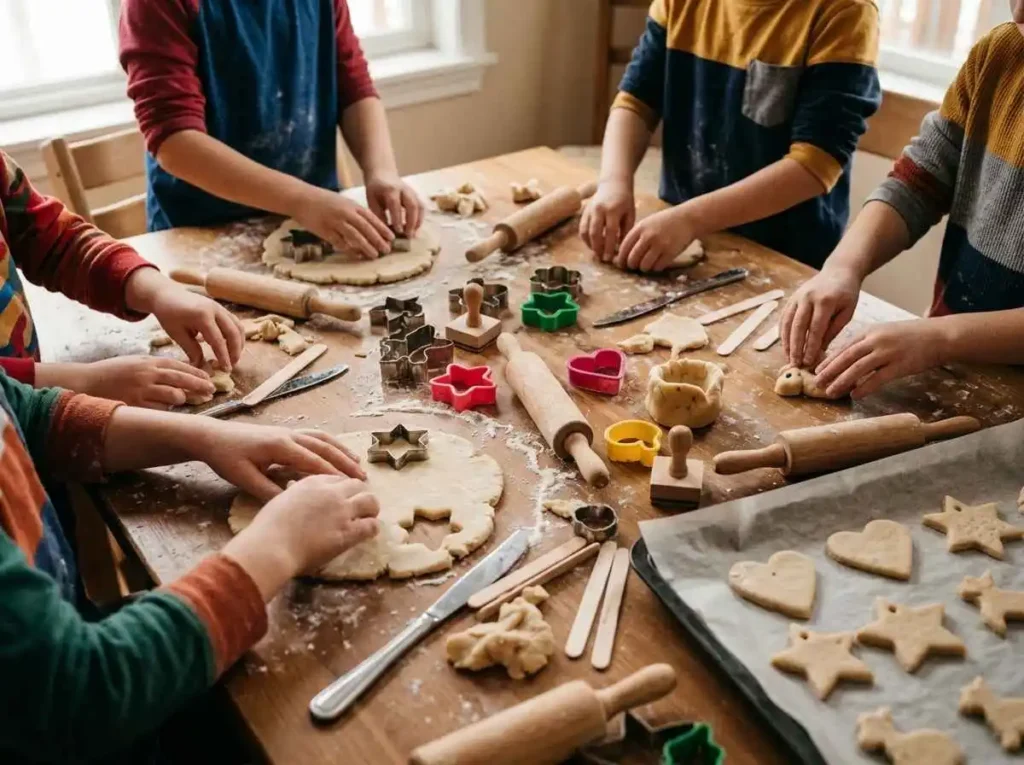
Salt dough is a flexible material that allows children to create many different crafts.
From simple keepsakes to decorative items, there are many projects suitable for different ages and skill levels.
Here are some easy salt dough craft ideas that kids can enjoy.
Salt Dough Handprint Keepsakes
Handprint crafts are one of the most meaningful salt dough projects.
They capture a child’s hand size at a specific moment and can become special memories for families.
To create a handprint keepsake:
• Flatten the salt dough
• Press a child’s hand gently into the surface
• Create a small hole if you want to hang it
• Allow it to dry completely
After drying, children can decorate the piece with paint and personal details.
Handprint keepsakes are popular for:
• Baby memories
• Family gifts
• Holiday decorations
• Special occasions
Salt Dough Ornaments
Salt dough ornaments are popular crafts, especially during holidays.
Children can create their own decorations for trees, rooms, or gifts.
Simple ornament ideas include:
• Stars
• Hearts
• Snowflakes
• Animals
• Personalized shapes
You can add a small hole before drying so the ornament can be attached with ribbon or string.
After drying, kids can paint and decorate their ornaments with their favorite colors.
Salt Dough Animals
Creating animal shapes is a fun way for children to use their imagination.
Kids can make simple versions of:
• Dogs
• Cats
• Fish
• Birds
• Butterflies
They can use different shapes and add details using tools or paint.
Animal crafts are especially useful for younger children because they combine creativity with learning about different shapes and forms.
Salt Dough Magnets
Small salt dough designs can be turned into decorative magnets.
Children can create tiny shapes, dry them, paint them, and attach magnets to the back.
Ideas include:
• Flowers
• Hearts
• Stars
• Small animals
Salt dough magnets can be used on:
• Refrigerators
• Magnetic boards
• Craft displays
They also make simple handmade gifts.
Salt Dough Jewelry
Salt dough can also be used to create simple handmade accessories.
Children can make:
• Beads
• Pendants
• Small decorative pieces
After drying and decorating, these pieces can be turned into creative jewelry projects.
This activity helps children explore patterns, colors, and design choices.
Salt Dough Nature Crafts
Nature inspired crafts are another fun salt dough idea.
Children can use natural objects to create textures and patterns.
Examples include:
• Leaf impressions
• Flower shapes
• Shell patterns
• Outdoor inspired designs
These crafts are a great way to combine creativity with exploring nature.
How to Dry Salt Dough Crafts
Drying is an important step because properly dried salt dough crafts become stronger and last longer.
The drying method depends on the thickness of the craft and how quickly you want the project completed.
There are two common drying methods.
Air Drying Method
Air drying is the simplest method and does not require any equipment.
Place your finished crafts on a flat surface in a dry area.
Allow enough time for the dough to harden naturally.
Air drying works best for:
• Small decorations
• Thin ornaments
• Simple shapes
The drying time depends on the thickness of the craft.
Thicker pieces need more time than thin designs.
Turn the pieces occasionally if needed to help them dry evenly.
Oven Drying Method
The oven method can speed up the drying process.
Place the salt dough crafts on a baking tray and use a low temperature.
Slow drying is important because high heat can cause:
• Cracks
• Uneven drying
• Color changes
Check the crafts regularly while drying.
The exact drying time depends on the size and thickness of the pieces.
How to Know When Salt Dough Is Dry
A finished salt dough craft should feel:
• Hard
• Solid
• Dry throughout
Soft areas may mean the inside still needs more drying time.
Before painting or decorating, make sure the entire piece is completely dry.
Proper drying helps your crafts stay stronger and improves the final result.
How to Decorate Salt Dough Crafts
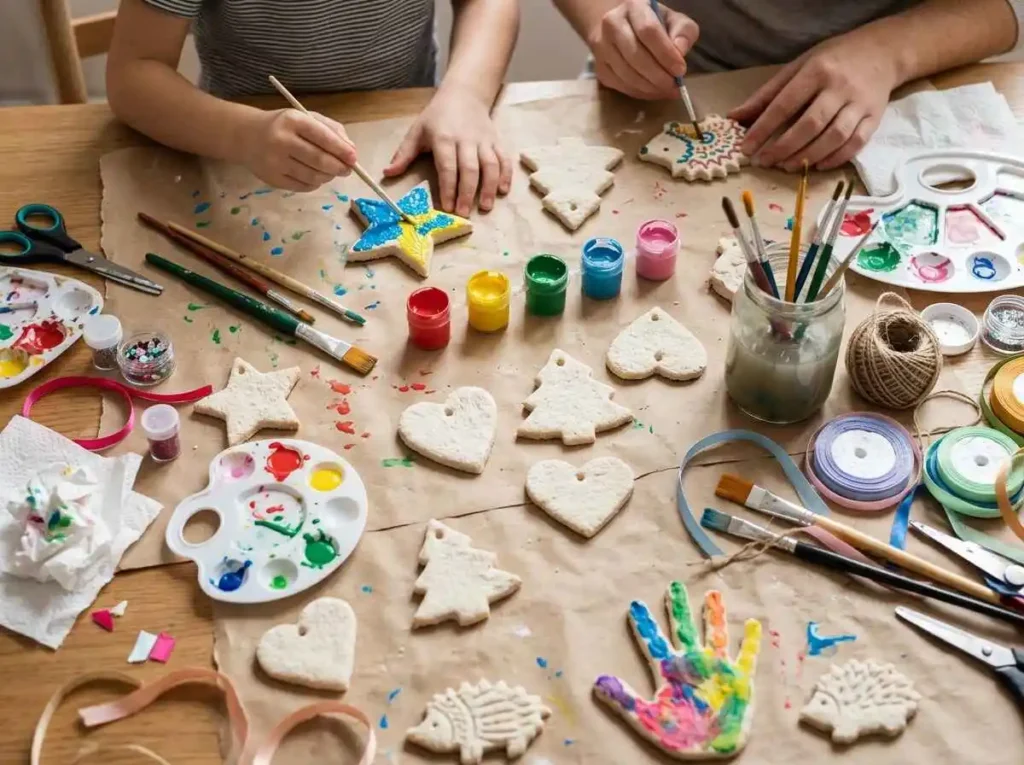
Decorating salt dough crafts is one of the most enjoyable parts of the process.
Once your crafts are completely dry, you can transform simple dough shapes into colorful and creative decorations.
Children can use different colors, patterns, and craft materials to make each project unique.
There are many ways to decorate salt dough crafts depending on the style you want to create.
Painting Salt Dough
Painting is the most common way to decorate dried salt dough crafts.
Acrylic paint works well because it provides bright colors and creates a smooth finish.
Before painting, make sure:
• The craft is completely dry
• The surface is clean
• There are no loose pieces
Children can use paint brushes to create:
• Simple color designs
• Patterns
• Faces
• Small details
Popular color ideas include:
• Bright colors for kids crafts
• Pastel shades for soft decorations
• Seasonal colors for holiday projects
• Natural colors for realistic designs
You can also use different painting techniques such as dots, lines, and small patterns to add more details.
Adding Decorative Details
Extra decorations can make salt dough crafts look more creative.
Depending on the project, you can add different craft materials after the dough has dried.
Some ideas include:
• Glitter
• Ribbons
• Buttons
• Beads
• Stickers
• Small fabric pieces
For example, a salt dough ornament can be decorated with glitter and ribbon, while an animal shape can be enhanced with painted eyes and small details.
When decorating crafts made by children, simple designs often look the most charming because they show their creativity.
Sealing Finished Crafts
Adding a protective layer can help your finished salt dough crafts last longer.
A clear craft sealant or protective coating can help protect the surface from dust and minor damage.
Sealing is especially useful for:
• Ornaments
• Keepsakes
• Decorative pieces
Before applying any sealant, make sure the paint is completely dry.
A protective layer can also give the craft a smoother finish and help maintain the colors.
Tips for Making Better Salt Dough Crafts
Although salt dough is simple to make, a few helpful techniques can improve your results.
These tips can help beginners create stronger, smoother, and more attractive crafts.
Get the Right Dough Texture
The texture of the dough plays an important role in the final result.
Good salt dough should be:
• Soft
• Flexible
• Easy to shape
• Not too sticky
If the dough is too dry, it may crack while shaping.
If it is too wet, it may become difficult to handle.
Adjust the ingredients slowly until you reach the right consistency.
Avoid Making Dough Too Wet
Adding too much water is one of the most common problems when making salt dough.
Wet dough can become sticky and may not hold shapes properly.
Add water gradually instead of adding the full amount at once.
This gives you better control over the texture.
Roll Dough Evenly
When making flat crafts like ornaments or handprint designs, try to roll the dough evenly.
Uneven thickness can cause some areas to dry faster than others.
Using a rolling pin can help create a smoother surface.
An even surface also makes painting and decorating easier.
Use Simple Shapes for Beginners
Simple designs are usually the best choice when starting.
Beginner friendly shapes include:
• Hearts
• Stars
• Flowers
• Animals
• Basic ornaments
Simple projects allow children to enjoy the activity without becoming frustrated.
As their skills improve, they can try more detailed designs.
Let Crafts Dry Completely
Proper drying is one of the most important steps.
If crafts are painted or decorated before they are fully dry, the inside may still be soft.
Always check that the entire piece feels hard before adding paint or decorations.
Patience during drying helps create stronger crafts.
Store Finished Crafts Properly
Proper storage can help preserve salt dough crafts.
Keep finished pieces in a dry place away from:
• Moisture
• Water
• Extreme heat
You can store smaller crafts in boxes or containers to protect them from damage.
Careful storage allows children to enjoy their handmade creations for a longer time.
Common Mistakes When Making Salt Dough
Salt dough crafts are beginner friendly, but a few mistakes can affect the final results.
Understanding common problems can help you create better projects.
Adding Too Much Water
Too much water can make the dough sticky and difficult to shape.
It can also affect how well the craft dries.
Add water slowly and adjust the mixture until the dough becomes soft but manageable.
Not Mixing Ingredients Properly
Uneven mixing can create a dough that does not have the right texture.
Make sure the flour and salt are combined well before adding water.
Proper mixing helps create smoother and stronger crafts.
Making Crafts Too Thick
Very thick crafts take longer to dry and may not harden evenly.
Try to keep designs at a reasonable thickness.
Thinner pieces usually dry faster and are easier for beginners to handle.
Drying Too Quickly
Using very high heat or rushing the drying process can cause cracks.
Slow and steady drying usually creates better results.
Give your crafts enough time to become fully dry.
Painting Before Drying
Painting salt dough before it is completely dry can trap moisture inside.
This may affect the final appearance and durability.
Always wait until the craft is fully hardened before decorating.
Frequently Asked Questions
What is the best salt dough recipe?
A simple salt dough recipe usually uses flour, salt, and water.
The most important part is creating the correct texture so the dough is soft, flexible, and easy to shape.
Can kids make salt dough crafts?
Yes, salt dough crafts are a great activity for children.
Kids can help prepare the dough, create shapes, and decorate finished pieces with adult guidance.
Adults should assist with any steps involving tools or hot equipment.
How long does salt dough take to dry?
Drying time depends on the thickness of the craft and the drying method used.
Small thin pieces may dry faster, while larger designs need more time.
Always check that the entire piece is hard before decorating.
Can salt dough crafts last for years?
Yes, properly dried and protected salt dough crafts can last for many years.
Keeping them away from moisture and storing them carefully helps maintain their condition.
Can you paint salt dough?
Yes, dried salt dough can be painted using different types of craft paint.
Acrylic paint is a popular choice because it creates bright colors and good coverage.
How do you store salt dough crafts?
Store finished crafts in a dry place away from moisture.
Using a container or box can help protect smaller pieces from dust and damage.
Is salt dough safe for children?
Salt dough is commonly used as a children’s craft material because it is made from simple household ingredients.
However, it is not intended to be eaten. Young children should be supervised during craft activities.
Can salt dough be reused?
Once salt dough has been dried into a finished craft, it cannot be reused as dough.
However, unused dough can sometimes be stored for later use if it is kept properly.
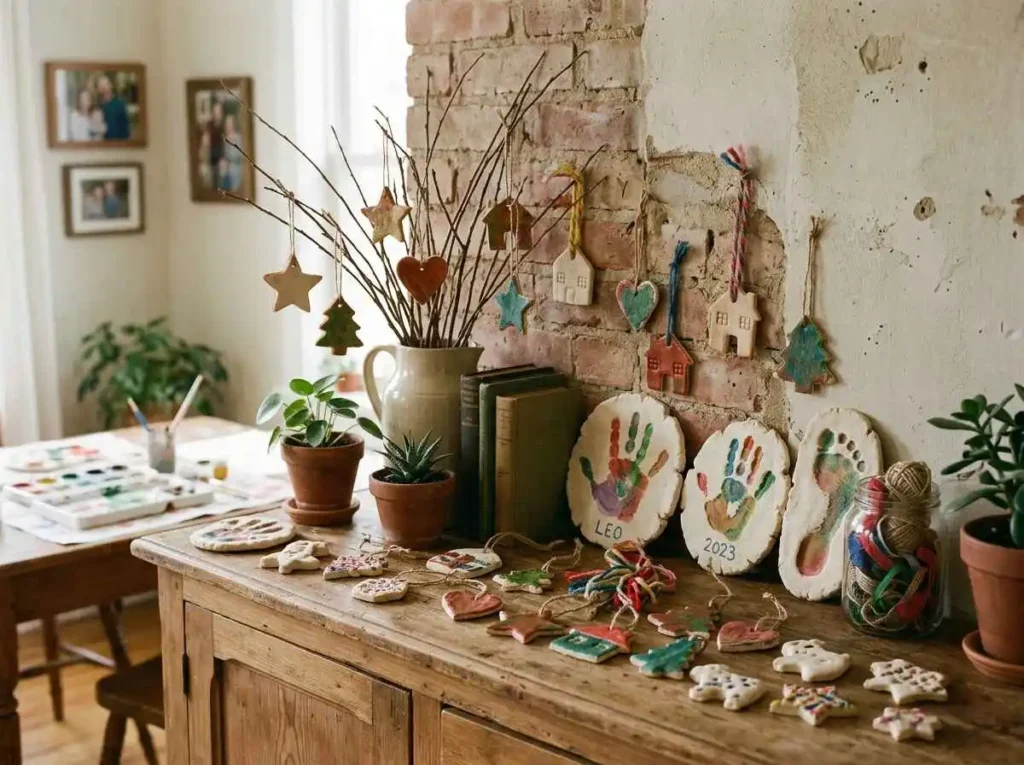
Final Thoughts
A salt dough recipe for kids crafts is a simple and creative way to enjoy handmade activities at home.
With just flour, salt, and water, children can create decorations, keepsakes, and unique craft projects using their imagination.
The best part about salt dough crafts is that they are affordable, easy to prepare, and suitable for different ages. From handprint memories to colorful ornaments, every project can become something special.
Whether you are planning a family activity, classroom project, or a fun weekend craft, salt dough offers endless creative possibilities.
Start with a simple design, enjoy the process, and let children explore their creativity through this fun homemade craft.