
It’s likely that you’ve seen textured wall art at a big-box retailer and liked the way it looked but not the price. But did you know that making your own is simple and can be done at a far lower price? I’m going to show you exactly how to create textured canvas art in this post!
Material
- A stretched canvas of some kind—it might be a new piece, an antique, a thrift store find, or even something you make yourself!
- Paint (I used white acrylic paint for the base coat).
- Paintbrush
- combined compound
- Putty knife
- I used two different-sized notched trowels to create texture, but you can use anything. Would you like to use a fork? Take it on! Your digits? Why not? You get the idea.
- Something like acrylics, spray paint, home paint, or transparent sealer to cover the joint compound. Here’s your chance to incorporate some color as well!
How To Make A Diy Textured Wall Art Painting – Beginner-Friendly
Step 1 – Prime canvas
This project is ideal for purchasing an inexpensive painting from the thrift store or for repurposing an artwork that simply isn’t doing much for you anymore like I did. This is where I began:
A new canvas will likely be pre-primed. Apply a thick foundation coat of paint if you’re painting over an old piece of art or if your canvas hasn’t been primed yet. I just used some white acrylic paint that I already had, but you can use pretty much any kind of paint.
Step 2 – Apply joint compound
After the base coat has dried, apply some joint compound. While using too much joint compound can cause the canvas to sink, you do want to apply just enough to completely cover the canvas and add texture.
Next, cover the exterior of your art canvas with the joint compound by spreading it around with your putty knife. It’s not required to be flawlessly smooth.
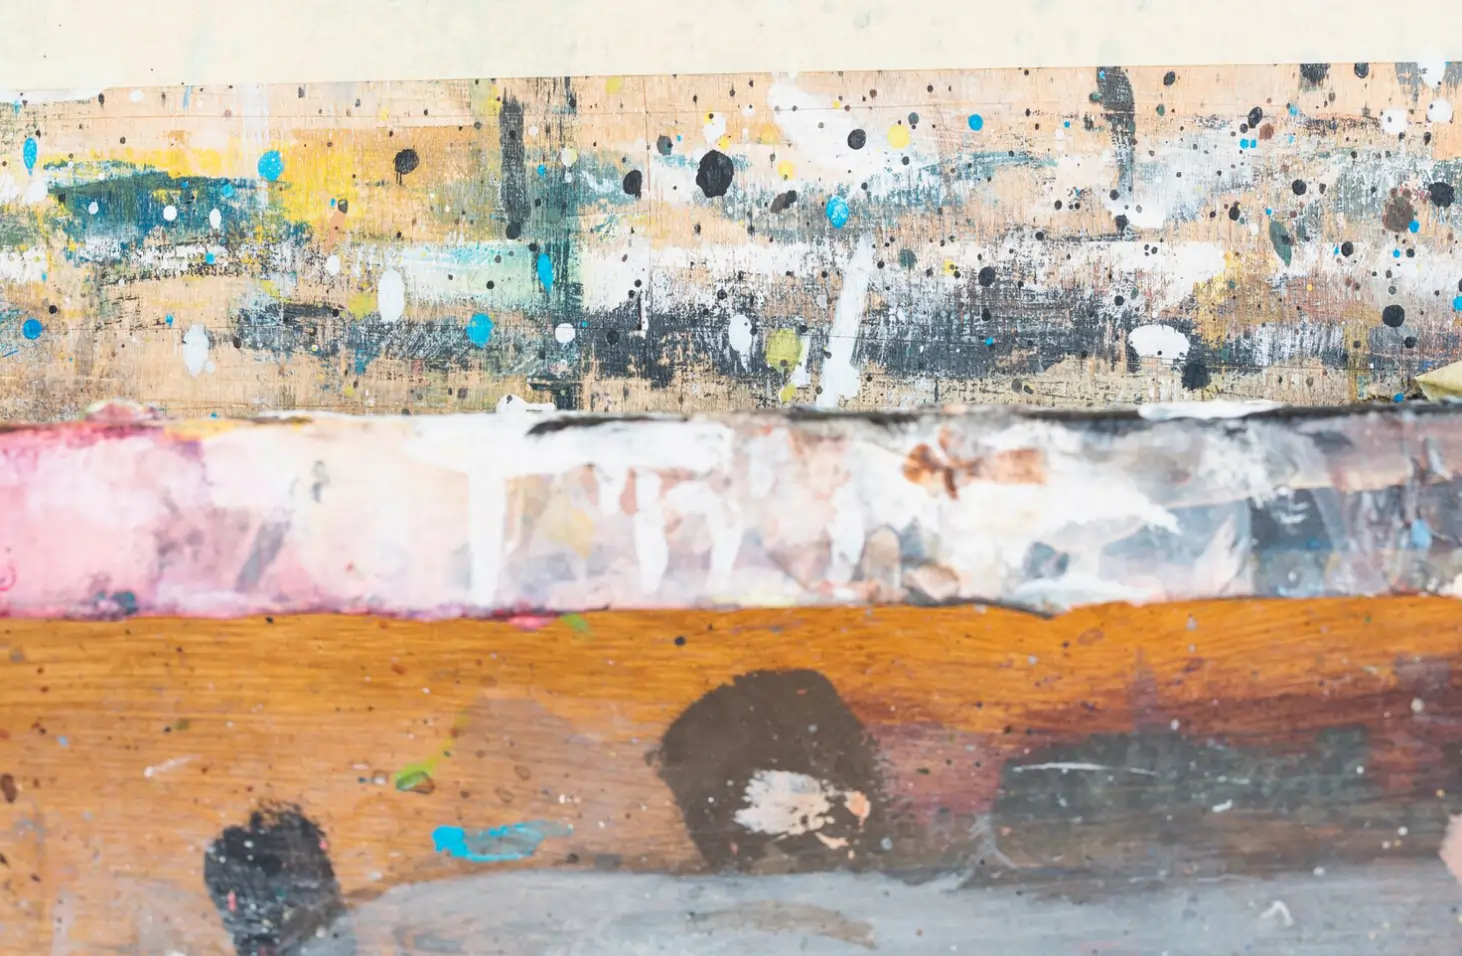
Step 3 – Play!
Here’s where you may play around and use whatever texturizing elements you’ve acquired to create texture. With this project, there’s no wrong turnaround; just follow your instincts.
If you come up with a design you don’t like, just use your putty knife to even it out again and start over.
Step 4 – Let it dry
After you’re satisfied with the design, let it air dry. This may require many hours to a whole day (or more). It may take some time. If you work on this craft somewhere your cats can’t get to, you might wind up having a few cat paw prints in your finished creation.
Step 5 – Seal your art
Sealing your artwork is a good idea once the joint compound has dried. If you prefer the delicate white hue of the joint compound—like I do—you may do this with a clear sealer.
But you may also take this as a chance to add some color with spray paint, acrylics, or even home paint. Furthermore, it doesn’t all need to be the same hue! It would be simple to put your spin using several colors and a paintbrush. ENJOY YOURSELF!
How to choose the right textured wall art for your space
Selecting the ideal textured wall art for your room may be an enjoyable and thrilling undertaking. Here are some pointers to assist you in choosing wisely:
- Take Your Home’s Style Into Account: When selecting textured wall art, keep your home’s general design and concept in mind. Choose sleek and trendy furniture for your modern, minimalist décor. Opt instead for more organic and textured pieces if you have an eclectic or boho style.
- 2. Take Wall Size and Room Scale into Account: When selecting textured wall art, take wall size and room-scale into account. A massive, strong sculpture may overpower a small space, while a small, delicate piece might get lost on a large, empty wall. Achieve equilibrium by selecting an item that harmonizes with the dimensions and style of your room.
- Play with Colors and Patterns: You can experiment with various hues and patterns while using textured wall art. Select an item that contrasts or enhances your room’s color design after giving it some thought. Don’t be scared to combine different patterns to create a striking and unique style.
- Take into Account the Lighting: The right lighting is essential for highlighting textured wall art. Think about how the lighting in your room, both artificial and natural, will affect the textures and materials of your wall art. Try a variety of lighting setups to bring attention to the special qualities of the piece you have selected.
DIY Textured Wall Art Ideas
Why not give these DIY textured wall art ideas a go if you’re feeling crafty and want to give your place a unique touch? To help you get started, consider these suggestions:
- Pressed Flower Art: Adding texture and natural elements to your walls with pressed flower art is a lovely and original idea. Gather and press various shaped and colored flowers, then place them on a wooden panel or canvas. To keep the flowers looking beautiful, seal them with a transparent varnish.
- Macrame Wall Hanging: A terrific way to add texture and boho appeal to your room, macrame wall hangings have seen a resurgence in recent years. Pick up a few simple macrame knots and use various ropes and fabrics to make your wall hanging.
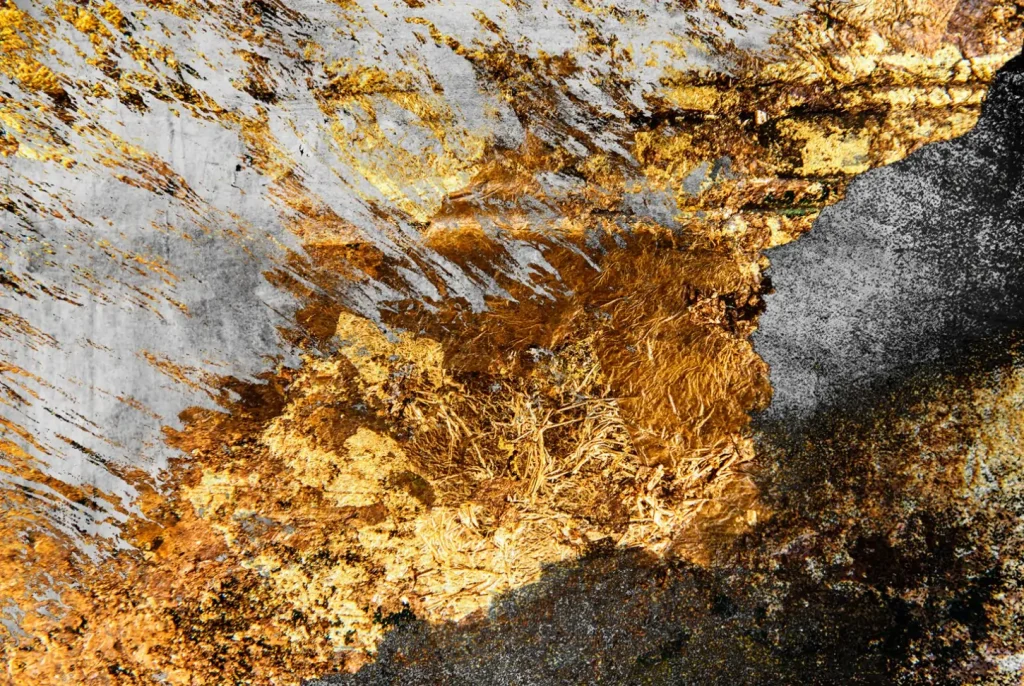
- Textured Paintings: Try out several painting methods to produce paintings with texture. You can add texture to your paint by mixing sand or other materials into it, or you can use a palette knife to make thick, textured brushstrokes. Give your imagination free rein and produce a one-of-a-kind work of art.
4.White Textured Art On Canvas: Some of the most sought-after works of art in Australia are white textured paintings, which have become popular as an interior trend. Viewers have described the white textured canvas work as striking and distinctive. The textures’ patterns are eye-catching and give the room depth. Because they are so distinctive, the white textured canvas art’s aesthetics lend depth and harmony to any area and are sure to draw praise.
Recall that creating your own DIY textured wall art lets you express your individuality and give your room a unique feel. Try new things and enjoy yourself while experimenting with various materials and methods.
FAQs
Why did you choose to use joint compound as opposed to spackle or plaster?
To be honest, I never considered using any other resources for this project. I’ve heard of others applying plaster or spackle. The joint compound was my choice because I always have it on hand for other jobs, I know it well, and it’s affordable. For me, it was an obvious choice.
If my canvas is already white, do I still need to prime it or paint it white?
To ensure that the canvas doesn’t absorb the water in the joint compound, I advise priming it with paint or real primer. It doesn’t have to be white, though, particularly if you want to add color to the finished product.
What size is your piece and what was the amount of joint compound used?
It measures roughly 2 by 4 feet. I can’t remember how much joint compound I used exactly, but as Step 2 shows, a few well-placed globs did the trick.
Which type of sealer did you apply?
You can seal your painting in a few different ways: you can use paint as a sealer if you want to add some color, or you can use clear sealant.
How are the various colors added?
After it dries, I would just paint over my piece to add color!
Using what instrument did you obtain the lines?
For my lines, I used a few various-sized trowels that I already had, but you can use anything that will give you a fun texture! Check your garage or kitchen drawers to see what treasures you can find.
My joint compound won’t dry; why?
You probably used too much joint compound if it hasn’t dried after a few days. All you can do is wait for it to dry, but there’s a good chance that some of it may break and flake.
How was the wooden frame surrounding the canvas constructed?
Someone once told me that the wood frame completed the sculpture, and I have to admit, they were right! To share how to make a floating frame at home, I’m working on another post. Keep checking back!
Final Thoughts
I’m ecstatic by how simple yet effective this project was. Now, this seems like a true statement piece of art. In particular, I’m happy with how nicely it covers the wall considering how inexpensive it was! You know, sometimes the best DIY projects are the simple ones.
Adding textured wall art to your house is a great way to improve its looks and make it feel more special and individual. Textured wall art gives your walls depth, dimension, and visual appeal—whether you go for a giant textured wall sculpture, a woven tapestry, or a collection of carved wooden panels.