
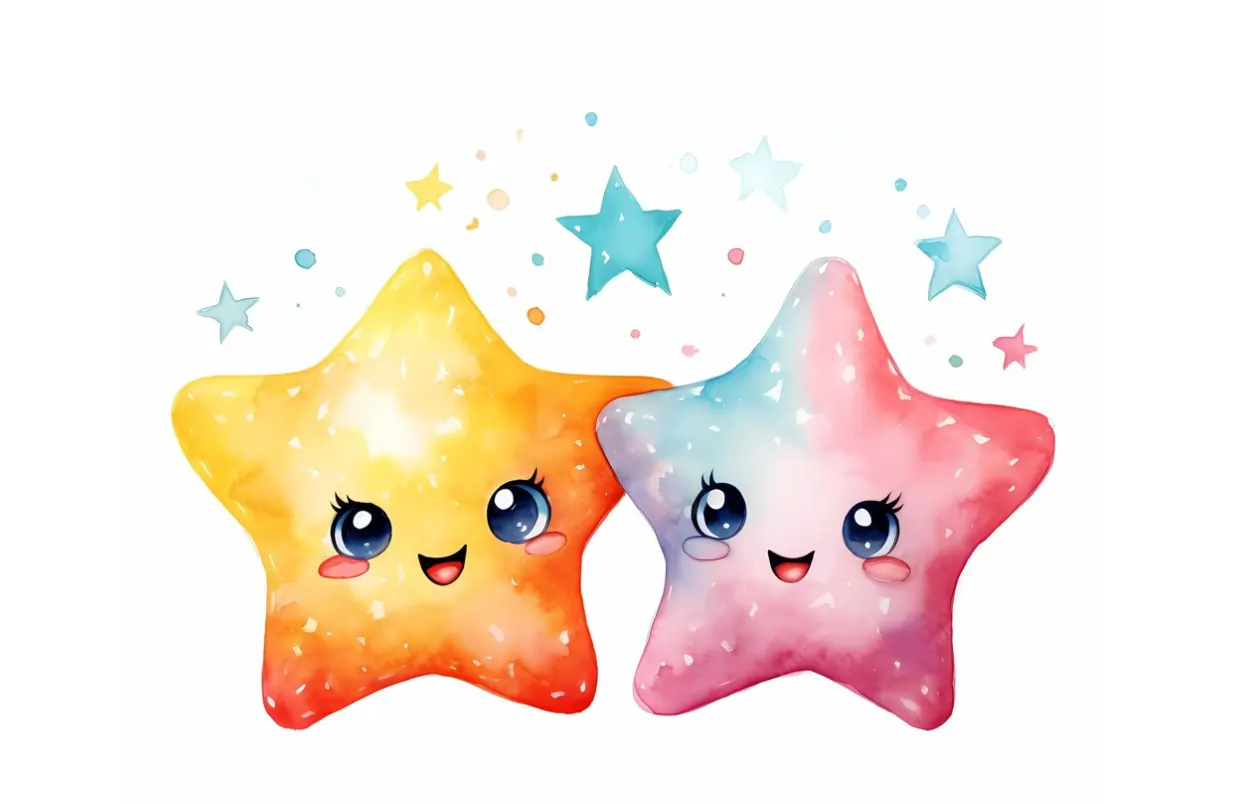
For creatives, artists, and designers, clipart has become a vital tool. Star clipart has become a well-liked alternative among the innumerable possibilities accessible for incorporating a hint of heavenly beauty into various undertakings.
We’ll cover all you require to understand about star clipart in this piece, including its types, history, and applications. We’ll also include an instruction guide on how to incorporate it into the designs you create.
History of Star Clipart
Star clipart has roots in the early years of computer graphics. Clipart was mostly utilized in desktop printing and graphic design programs like Adobe Illustrator and Microsoft Office in the 1980s and 1990s.
Various formats like SVG and PNG appeared, and clipart became more complex as technology developed. Star clipart is widely used in digital design today and comes in various forms, styles, and sizes.
Types of Star Clipart
Star clipart is available in a variety of sizes, forms, and styles to suit a range of design requirements and tastes. These are a few popular categories of star clipart:
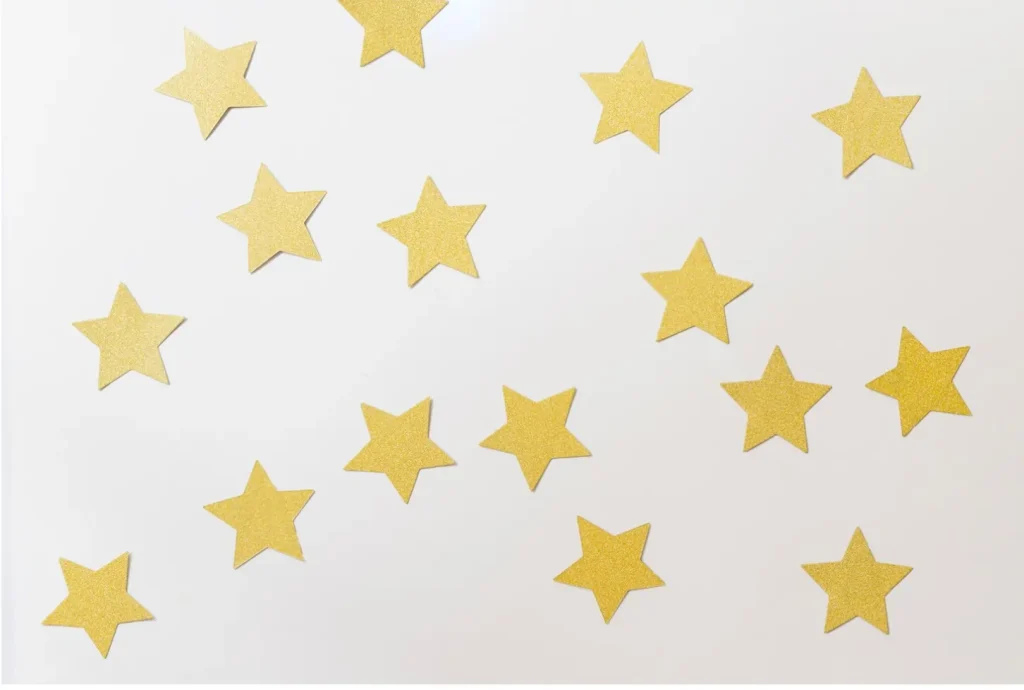
- Simple Stars: Simple, geometric stars with sparse detailing and crisp lines.
- Imaginative Stars: Hand-drawn stars with complex textures and characteristics that are whimsical.
- Glowing Stars: Stars with a bright light are known as glowing stars, and they are excellent for evoking awe and magic.
- 3D Stars: These three-dimensional, deeply shaded stars are perfect for giving your projects more depth.
Uses of Star Clipart
- Because of its versatility, star clipart can be used for a wide range of projects, such as posters, flyers, business cards, and brochures.
- Email marketing campaigns, social media graphics, and web design.
- Resources for education, including lesson plans, worksheets, and presentations.
- Paper crafts such as card making and scrapbooking.
How to Use Star Clipart
Adding a star clipart to your artwork is a simple and easy process. The following advice will help you get started:
- Taking into account the size and proportions of your project, choose a star clipart that satisfies your design specifications.
- Your star clipart can have its hue changed to better reflect your brand or design strategy.
- Combine star clipart with other elements of design, such as text, shapes, and icons, to make a visually appealing composition.
- To add visual appeal and get the desired impact, scale and rotate your star clipart.
Top Online Resources for Star Clipart
Let’s look at a few top websites where you can locate star clipart. You can utilize the star-themed photos available on each of these platforms for a variety of purposes.
-
Freepik
A variety of star clipart vectors and drawings are available on Freepik. These styles are ideal for instructional materials, social media, and apps. You may produce designs that are visually appealing and harmonious by utilizing a variety of styles.
-
Creazilla
Over 4,000 free star clipart pictures are available on Creazilla. These can be used for journalistic, instructional, business, or private endeavors. They span a range of topics and styles.
-
Pngtree
Transparent star clipart is available in PNG format on Pngtree. These are excellent for creative projects or school assignments. The assortment is updated regularly.
-
iStock
Transparent star clipart is available in PNG format on Pngtree. These are excellent for clasiStock provides a huge selection of vector images and stock illustrations with stars. There are several different styles available, along with gold stars and other beautiful accents.
projects or creative work in the room. The assortment is updated regularly.
32 Star Clipart – Star Images Free
I’m sharing a handy and entertaining assortment of free star clipart images today! All of these old-fashioned clip art illustrations were digitized from my collection of antique printer books. Compared to other clipart images you may come across online, these are a little different because the printing appears a little worn out, which gives them a fantastic retro or vintage appearance. These star cliparts are ideal for usage in a variety of graphic design projects, including web design, arts and crafts, school reports, PowerPoint presentations, teacher clip art for schools or Sunday schools, and Photoshop brushes.
I’m hoping these star images will come in handy for some of your projects. Each Star Graphic is available from me in a variety of hues, including Navy Blue, Red, Black White, and Gold. Additionally, there are other designs, some of which include Borders as well as a few Frames. These extra choices work great for patriotic holiday designs, such as those for Christmas or the Fourth of July. To save the photographs to your computer, simply click the images to enlarge them and then click the button on the right side of your mouse.
Stars Clipart
These Double Stars are intriguing! Each version features a highly detailed foundation in the shape of a style of architecture star, similar to the one you see below, with a second one layered on top to provide an intriguing and unique pattern. These would be fantastic for projects celebrating July Fourth!
With their almost three-dimensional appearance, these amazing Star Images look almost architectural. A black and white five-point star picture is the one on the right. It has a nautical feel to it, and I find it to be stunning. For crafts or designs in a patriotic or nautical theme, the navy star would be fantastic. It is repeated once again in vivid red. For Christmas designs or projects, this rendition of the five-point star might be suitable. Finally, there is a gold edition. Do you know of any teachers who would like to give a Gold Star to a student for their contributions in the classroom? This one might work well for you!
Star Outline Images
This is a good, simple Star Outline for your assignments and reports. Black and white is used in the first one. If you’d like, you might use a digital coloring tool like Photoshop or Picmonkey, or you could color it by hand using markers, colored pencils, or crayons. Alternatively, you could leave it as is. A lovely crimson variant of the Star Clipart Outline can be seen in the second one. You could find it helpful for teacher resources or school reports. You might even use it for Christmas designs. The third one is the identical Star Clipart image in navy blue and white. Finally, there’s a lovely, vivid Gold version as well.
Star Images
These are some entertaining reverse star images. In the first, the surrounding region is black and the star itself is white. Thanks to its distressed-looking background, it has a terrific nostalgic appeal! Here’s a lovely red and white variant that comes next. The same star image is also available in navy blue gold and white versions.
Fancy Stars
The most recent addition to this group is this. I’ve included some elaborate, vintage-looking variants! The first is the original sepia-toned full-color version. In addition, I made versions in black and white, aqua, and golden yellow. The Aqua one seems like it would look good in projects with a coastal theme.
Star Clipart Borders
A few of the Star Borders are available for your use. These are excellent Photoshop Brushes since you can print them repeatedly for various uses. They would look fantastic as border decorations for projects, papers, reports, and even web design.
Star Graphic Frames
I scanned this intriguing little star graphic frame out of one of my old printer books. In this one, a black border is surrounded by white six-point stars. This one also has four of the identical Clipart Stars in each of the corners. It would be adorable as a label, or you might employ it as a present tag or something.
How To Create Star Wars Icons In A Line Art Style
I’ll walk you through the steps of making Star Wars line art icons in Adobe Illustrator in this tutorial.
Chewbacca Icon
- MirrorMe is useful in situations when the icons we will be creating today are symmetrical concerning the vertical axis. Using this tool, we create a single axis and a 90-degree angle in the opened panel.
- In the annotation that appears, click the artboard and select Apply to Layer. During the drawing process, you can make mirror duplicates of things using this mode.
- Now, draw the hair on Chewbacca’s head using the Pen Tool or InkScribe Tool. We can see the complete character and cut down on the number of pathways created by half by using MirrorMe. This is crucial for the quick development of the image and removes the need to fix bad actions. If you only draw half of Chewbacca’s face and then use the Reflect Tool to reflect items, you will always make mistakes like these.
- Make the eye and the first portion of the mouth next.
- Using the VectorScribe plug-in’s Extend Path Tool is convenient when designing linear icons. Using this tool, you can expand current pathways based on the modes that were previously installed in the dialog box. This is a straight, spiral, single-bezier, constant-radius curve.
- It is also possible to trim the routes using the Extend Path Tool.
- After selecting Remove Axes from the MirrorMe panel button, draw two vertical lines as seen in the illustration below.
- Using the Dynamic Corners Tool (VectorScribe), draw a triangle for the nose and then round its corners.
Yoda Icon
- Draw the upper portion of the Yoda head after using MirrorMe to set the symmetry axis and use the Apply to Layer option.
- With SubScribe, you may easily and rapidly build pathways in the shape of an arch with its Arc-start-end-direction Tool. Now, as you can see below, extend the current path to form an arch.
- Sketch five additional arches on Yoda’s head, representing his mouth, nose, chin, and forehead wrinkles.
- Sketch the outline of an ear and an eye.
- In the MirrorMe window, click the Remove Axes button. Apply the Zig Zag effect (Effect > Distort & Transform > Zig Zag) to the forehead creases now.
Obi-Wan Kenobi Icon
- Use MirrorMe to create symmetrical facial features.
- Draw the nose and hairstyle as asymmetrical objects, removing the symmetry axis.
Storm Trooper, Darth Vader, C-3po, Death Star And Tusken Raider Icons
I made five new icons with the methods mentioned above.
I suggest looking at pictures of Star Wars characters and trying to stylize the icons while paying attention to proportions and using the fewest possible lines to get recognized graphics.
BB-8 icon
The ellipses must, in my perspective, touch the circle at some point in the upper left corner and must also be correctly rotated at the same time. The ColliderScribe plug-in’s Rotate at Collision Tool can be used to accomplish this task. Keyboard shortcut “Space” – select the other rotation orientation.
- Likewise, insert a duplicate of the ellipses into the circle’s lower portion.
- The clipping mask is used to restrict the ability to see another group of ellipses.
- Add two circles inside and half of the circle above
- The Star Wars icons are now available.
How to Create Shooting Star Art
One might witness a plethora of amazing things when gazing up at the night sky. Seeing the Milky Way, a full moon, or a starry sky are just a few of the breathtaking vistas.
In extreme circumstances, you might even spot a shooting star. It’s customary to utter a wish if you’re fortunate enough to witness this amazing phenomenon because it’s so unique and uncommon. However, it can be difficult to be that fortunate, therefore creating your shooting star art by learning how to draw one can be a terrific substitute!
You will have your very own shooting star to wish upon by the time you finish this guide. We sincerely hope you find this step-by-step tutorial on drawing a shooting star to be quite enjoyable.
Step 1 – Drawing The Top Of The Star
It will be much simpler for you to complete this drawing tutorial on a shooting star if you have a ruler nearby.
In this initial stage, we will begin by drawing the top of the star with that in mind. Draw two lines that join to one another at a sharp point using your ruler.
Next, draw a second line that emerges from the center of each at a small diagonal angle. After drawing these lines, you can draw more ones underneath them, parallel to the previous ones.
If it sounds even slightly complicated, make sure you pay great attention to the reference image when you draw!
Step 2 – Next, draw some more points for the star
The only difference between this stage and the first in your shooting star drawing method is that the second part will be drawn from a different angle.
You can increase the amount at the left-hand point of the star by using your ruler, and you can add another point at the bottom-left.
Once more, you will draw some additional lines parallel to the ones you have just made.
Once you’re satisfied with the appearance, you can go to step 3!
Step 3 – Finish off the outline for the shooting star
Using a ruler once more, we will add a new point to the star and then draw more lines to join it to the previous one.
That will finish the star’s outline, and we will add the trail it leaves behind as it soars across the sky in the following steps.
Step 4 – Now, draw the trail for the shooting star
In this and the next stage, we will start adding the trail that your shooting star drawing leaves behind, as we discussed in the previous step.
You can achieve this by putting your ruler away because you won’t be using it. From now on, however, we’ll be drawing some curved lines, which may take some extra patience and a steady hand!
To begin, sketch a curved line that descends from the star’s upper tip to the left arm. Next, extend a second, much longer line from the left-hand tip downward.
Last, but not least, draw another line from the left inverted tip and join it to the preceding curved line.
Step 5 – Finish off your shooting star drawing
In this phase of our How to Draw a Shooting Star tutorial, we’ll add the finishing touches before you color your piece. We’re going to add two more curved lines to accomplish this.
Both of these lines will emanate from the star’s two lowest points. They will then join at the tip that was created by the two curving lines in the step before.
You are prepared for the last step after you have sketched these trail lines! Before continuing, you can also add a few details of your own.
These may be some background features of sparkling stars or something imaginative and entertaining like an extraterrestrial spacecraft!
These are just a few options for you to consider; what other ideas do you have for this picture?
Step 6 – Finish off your shooting star drawing with some color
This gets you to the last stage of your shooting star drawing, where you will add some beautiful colors to finish it off!
For the different parts of the shooting star, we chose different tones of yellow. This contributes to its appropriate brightness!
To achieve the desired hues, you can also utilize certain other materials.
For vivid and intense colors, colored markers and acrylics can be fantastic tools, but a more subdued approach would also be effective. It’s entirely up to you, so enjoy yourself as you use your imagination!
4 More Ways to Make Your Shooting Star Drawing Unique
As we demonstrate how to enhance the beauty of this shooting star doodle, aim high!
If you’re fortunate enough to spot a shooting star in the night sky, there are probably a ton of other amazing celestial spectacles to behold. These would look fantastic and add to your drawing of the shooting stars!
You may also include the moon and a few more stars to surround the shooting star to get some ideas of what these might be. You might even include the Milky Way!
These are simply a few possibilities for additional characteristics; can you think of any others for the night sky?
Conclusion
Star clipart has advanced significantly since its creation, and its allure and adaptability have cemented its place as a mainstay in the field of digital design. Star clipart may bring a bit of cosmic magic to your creations and make them stand out, whether you are an experienced designer or just starting.
You can now fully explore and utilize the world of star clipart thanks to this post.
People May Ask
Star clipart: what is it?
The term “star clipart” describes graphical depictions of stars that can be included in a variety of digital creations, including presentations, graphics, and illustrations.
Where can I get a free clipart of stars?
Websites like Freepik, which provides a big library of excellent photos, vectors, and PSD files for commercial use, are a good place to find free Star Clipart. To locate more resources, you may also search for “star outline clip art” or “star clipart vector art.”
Is it okay for me to use Star Clipart for business?
Yes, provided you abide by the website’s terms and conditions, you can get free star clipart from a lot of websites for use in commercial settings. Before utilizing the clipart, make sure you review the licensing agreements.
Are there various kinds of star clipart accessible?
Yes, there are many different kinds of star clipart available, such as:
- Star outline clip art
- Vector illustration of stars
- Icons of stars
- Star visuals
- backgrounds of stars