


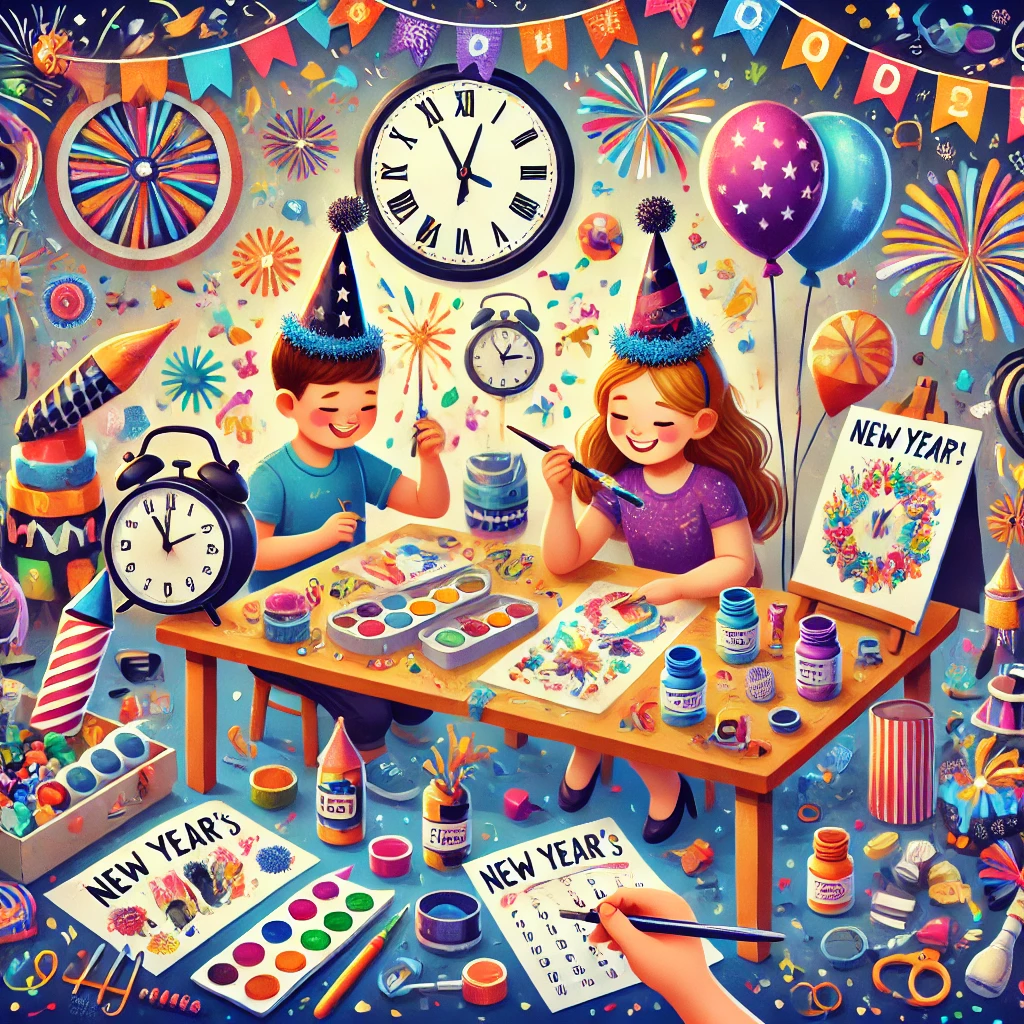
Everyone, including children, looks forward to New Year’s Eve! New Year’s Eve crafts are a great way to bring creativity and joy to any occasion, whether you’re organizing a family celebration or just want to keep small hands occupied while the clock ticks down the seconds till midnight. These easy and entertaining craft ideas are sure to please your children.
These fun and simple projects for kids will help your New Year’s Eve festivities go off without a hitch. If you’re in bed before the fireworks start, these kid-friendly New Year’s Eve crafts are a great way to commemorate the start of a new year! Here are 14 New Year’s craft ideas that youngsters can do with their loved ones to make their celebrations a huge success!
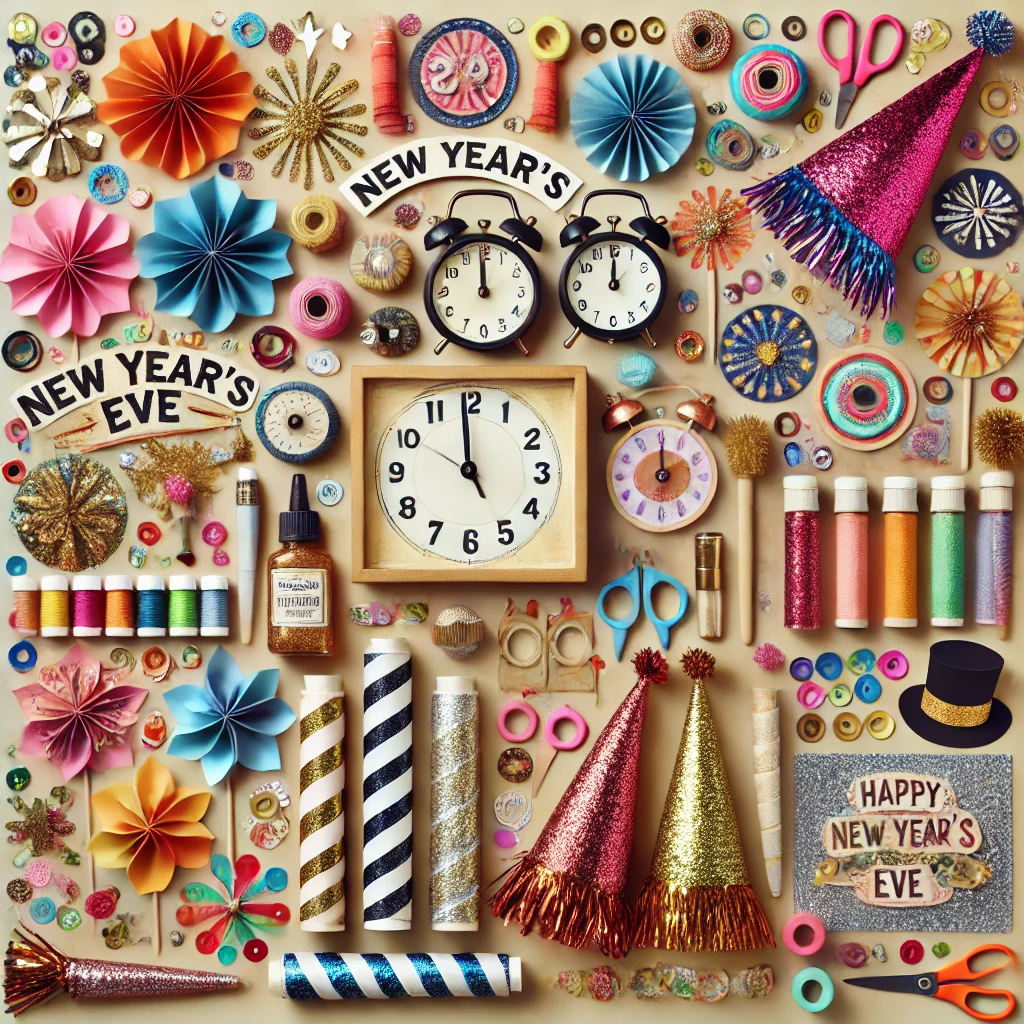
With the help of our helpful instructions, create countdown clocks, paper sparklers, loud party horns, and much more. Old CDs, leftover wrapping paper, and toilet roll tubes are just a few of the materials you’ll find lying about the house that may be used for many of these DIY projects. To add a festive shimmer, you might also need extra craft supplies like sequins, pompoms, ribbons, and glitter.
Fun New Year’s crafts for kids
1. Fireworks painting
Using recycled toilet roll tubes, this DIY project creates vibrant fireworks that look stunning on a black backdrop.
This New Year’s Eve craft is appropriate for kids of all ages and will keep little hands occupied during Bonfire Night and the Fourth of July festivities.
Discover how to use paper rolls and acrylic paint to create pyrotechnics. These fireworks paintings are really beautiful and quite simple to create, making them the ideal kids’ summertime hobby!
How to Paint Fireworks with Acrylic Paint
Who knew that such lovely fireworks could be made from a cut-up paper roll? Despite their stunning appearance and vibrant colors, these firework paintings are quite easy to create!
For our fireworks, we used seven distinct colors, but you can make it even simpler by using three or four of your favorite colors; they will still look fantastic. Create a firework painting for the Fourth of July using the colors red, white, and blue!
I adore how the glittering, colorful fireworks stand out against the black cardboard backdrop. They truly resemble fireworks exploding in the night sky!
Because you can be so creative with the colors and positioning of the fireworks, this is an excellent art project for people of all ability levels. You don’t need to be an expert painter!
Here’s what you’ll need:
- Acrylic paint
- Paintbrush
- Black cardstock
- Glitter
How to Paint Fireworks
Discover how to use paper rolls and acrylic paint to create pyrotechnics! These sparkly fireworks paintings are incredibly beautiful and simple to create!
Materials:
- Rolls of paper towels or toilet paper (one for each paint color)
- One piece of acrylic paint (either tempera or acrylic) and black cardboard
- Glitter
Equipment:
- Scissors
- paper plates
- Paintbrush
Instructions:
Step 1: Prepare paper rolls and paint
- Cut vertically around the paper roll, leaving a minimum of 1/4 inch between each cut. The ideal length for a cut is about 2 inches. The inside of the firecracker can also benefit from smaller cuts that are between one and one and a half inches long.
- Create a sun form by bending the cut parts of the paper roll so they face outward.
- Apply paint to a paper plate, then spread it out with a paintbrush. The fanned-out paper roll must be covered by the paint circle, which must be sufficiently large.
- With the remaining paint colors, repeat the previous process. You can choose to use fewer (or even more!) colors, but we used seven for variation.
Step 2: Start painting
- Dip the paper roll’s fanned ends into your first paint color. To ensure adequate paint coverage, bounce the roll up and down and rotate it.
- The paper roll should be stamped onto your cardstock. Raise the roll of paper and turn it slightly, then stamp it down once again in the same spot. A fuller firework results from this.
- Repeat the preceding steps with a different color of paper roll.
- To make two-toned fireworks, stamp inside the larger ones if you’re using a smaller cut roll.
- Dust the newly painted firework with glitter.
- Add fireworks to the remaining cardstock.
- After every two or three pyrotechnics, make sure to sprinkle glitter. The paint dries too much for the glitter to adhere if you wait until all of the fireworks have been stamped.
- Pick up your artwork and remove any extra glitter after you’re done painting and adding it. You can do this over a trash can, on a paper plate, or a newspaper.
Your painting of fireworks is finished!
2. Paper Sparklers
For small hands, these paper sparklers are a safe, flameless substitute for conventional sparklers. They’re also simple to prepare and enjoyable!
Children will enjoyselecting their favorite colors to create the sparklers, which are perfect for Fourth of July celebrations and bonfire night.
Even though firecrackers and sparkler pyrotechnics are customary for the celebrations, they might not always be the safest choice for small children. This is where this simple (and affordable) do-it-yourself party supply comes in, offering a firecracker substitute that is flameless and perfectly embodies the spirit of the Fourth of July (or New Year’s Eve!).
These sparkler firework crafts, with their eco-friendly sparkle and red, white, and blue hues, allow youngsters to enjoy a fun process art activity while protecting them from the dangers of actual sparklers.
These DIY sparklers with speckles aren’t only for the summer. For a festive, fluttery touch, combine them with a paper chain countdown for New Year’s Eve, or use them as a kids’ birthday paper craft project and take-home gift! Everything is more amazing when you are brandishing a handful of glittering AND shimmering paper fringe.
To make your kid-friendly paper sparklers, you’ll need:
Basic Supplies:
- Various cardstock colors
- Twigs, wooden chopsticks, or craft dowels
- Acrylic paint in gold
- A little spray bottle or foam brush
- The scissors
- The tape
Optional Supplies:
- Cardstock with glitter
- Acrylic paint in a variety of hues
- Craft glue or a hot glue gun
- Dry grasses or raffia
- Yarn or ribbon
How to Make Kid-Friendly Paper Sparklers – DIY Instructions:
Step. 1 Cut paper and gather sparkler “wands.”
Assemble your materials. I created rectangles that were 5 or 6 inches long and 8.5 inches wide by approximately cutting regular letter-sized cardstock in half. Additionally, I chose twocardstock colors for each sparkler; this is not required, but I believe it adds visual depth and sparkle!
I painted these craft dowels quickly using black acrylic paint, which dries rapidly (about five minutes), but you can use whatever you have on hand or prefer. You could use sticks, chopsticks, or even straws!
Step 2: Add gold paint “sparks.”
I used a spray bottle that contained about 1 tablespoon of gold acrylic paint and a quarter cup of water to add some basic glitter to our paper. After stacking our paper pieces on a baking sheet, I used the spray bottle to apply gold sparkle strips to the tops of each piece.
This stage is a great opportunity to involve younger children who might struggle to assemble these sparklers on their own.
Instead of using a spray bottle, you can use a paintbrush or foam brush to apply a thick layer of gold paint over the top two or three inches of each piece of paper. Alternatively, use sparkly glitter cardstock to further streamline the process and completely exclude the paint.
Note: After the papers are dry, turn them over and spray paint the other side. Although it’s not required, it enhances the gold shimmer, which is these pieces’ true focus.
Step 3: Create crinkled paper (optional).
To get a crinkled paper appearance, fold and ball up your paper pieces repeatedly. Although it’s not required, I believe this process helps the paper “sparks” capture light from a variety of perspectives. Kids also adore creating glittery paper snowballs, hehe!
After each piece is sufficiently crinkled, smooth it out until it is semi-flat once more.
Step 4: Cut strips into your paper pieces to create fringe.
Divide the pieces of paper in half, then cut tiny strips into the paper, stopping 1 to 1.5 inches before the bottom, to make fringe.
Step 5: Affix the paper fringe to the dowel rod with tape.
Attach the first piece of fringe to the end of your dowel rod using electrical or sticky transparent tape. Tightly wrap the fringe around the rod to the end. Use a second, tiny piece of tape to secure.
Instead of using tape, you might want to use a hot glue gun or craft glue to line the bottom of your paper strips (where they meet the dowel rod) if you anticipate that your paper sparklers will be subjected to a lot of vigorous waving. However, the tape served our needs well, and these have been durable for more than a year!
Step 6: Add layers of sparkly paper fringe.
Continue wrapping the remaining layers of paper over the first, sealing it firmly with sticky tape.
Step 7: Finish and wrap with tape.
Wrap with a long piece of electrical tape or use a final 1 to 2-inch strip of transparent tape to secure all four layers of paper spark fringe.
You can now formally celebrate a Yankee Doodle Dandy Day. Get your heart ready to sparkler-flutter by turning on our Fireworks playlist on Spotify!
3. Chinese Lanterns
These lanterns will add color and enthusiasm to a party on New Year’s Eve, but they’re also ideal for Chinese New Year celebrations. Cutting simple shapes with scissors is a great way for kids to practice their fine motor skills.
Make a few of these lanterns and hang them in attractive chains throughout the space.
How to make Chinese lanterns
This is the ideal Chinese New Year craft: how to construct Chinese lanterns out of paper or cards!
Start with a red card rectangle for both design options. The perfect size is A4.
If you’d like, you can add collage supplies, paint, and gold or red pens.
Chinese Lantern Craft #1
- Fold your card in half lengthwise so that the two long sides meet for the first design option.
- As seen in the picture, cut lines along the fold with a pair of scissors. It’s crucial to avoid cutting all the way across because doing so will cause your lantern to break.
- Your child can cut by just using their eyes to guide them, or you can draw lines on the card for them to follow. Encourage your child to try using the scissors; it’s not necessary to cut in precisely straight lines or to space them out precisely.
- Then, as you can see in the picture, unfold your card and roll your lantern up so that the cuts you created go from top to bottom. Use staples or adhesive tape to secure in place.
- To hang your lantern, attach a handle to the top. We used tape to hold some gold ricrac in place.
- The completed lanterns may be hung in chains throughout the room and have a fantastic shape.
Chinese Lantern Craft #2
- Cut the card into eight strips for the second design of Chinese lanterns, which was based on our pumpkin project for Halloween scissor skills.
- Once more, precision is not necessary, so encourage your child to use the scissors and, if they like, provide them with sketched lines to cut along.
- Next, secure each strip at one end with a split pin.
- As seen in the above photo, spread out the strips.
- Curl each strip into a ball to finish the lantern form, then use a second split pin to secure all the loose ends.
- We used gold yarn for the handle on top and gold ribbon underneath as an additional accent.
4. Firework Salt Crafting
Who knew table salt could be used for crafts? This easy method works well for creating snowflakes and produces stunning pyrotechnics.
The fireworks are best colored with watercolors or diluted acrylic paint.
What is Salt Crafting?
Crafting with salt is exactly what it sounds like. It’s salt crafting. Both small children and older youngsters can enjoy the simple craft of salt painting.
Salt-making entails painting, gluing, and either drawing or using templates. It is the perfect craft for kids that are really imaginative.
Supplies Needed for Firework Salt Crafting
Assemble all of your materials before you start. You’ll require:
- Cardstock
- Pencil (if drawing)
- Printer (if printing a template)
- White glue (bottled)
- Salt
- Paintbrush
- Liquid watercolors
How to Salt Painting Craft Tutorial
- Making salt is simple. However, it can become a bit disorganized. Use a cookie sheet or be sure to cover the area you are working on.
- Start by drawing your design or printing a template onto cardstock paper.
- Start by using the glue to trace your design. A lovely, thin line is what you’ll desire.
- After tracing the pattern, sprinkle salt over all of the glue. To make sure that all of the glue is covered, use a lot of salt.
- To get rid of any extra salt, gently tap your product. The salt is yours to retain and use in another craft.
- Take the watercolor paint and dip the paintbrush into it. Gently rub the bristles against the adhesive that has been coated in salt. Salt will seep into the paint. Your chosen colors will blend together to provide a watercolor appearance.
- Allow the object to dry flat for one to two days after painting it. Before putting the creation on display, make sure the glue is totally dried.
- Now that the adhesive has dried completely, you can display your artwork.
5. Fingerprint Silhouette Art
All you need is paint for this incredibly messy fun kid-friendly New Year’s activity. Your fingers, too!
To create the ‘exploding’ background, use a range of colors; we adore the stylish silver, white, and gold combo. Naturally, you can write various messages for a beautiful year-round craft.
Are you trying to find the ideal last-minute project to do with the kids on New Year’s Eve? Allow them to use paint to create this Silhouette Fingerprint New Year’s Craft! It’s a great way to start the year and can also become a lovely yearly memento.
This particular fingerprint All you really need for the New Year’s Silhouette Craft is a fingertip that is prepared to be painted.
Supplies needed:
- Cardstock in black
- Acrylic paint in an array of hues
- Big black stickers of numbers and letters
There are two techniques to create the silhouette in this craft. One method is to softly apply the letters and numbers before painting, then carefully remove them once the paint has dried, hoping the paper won’t catch the stickers. We also used fingerprints to paint the entire paper, and after it dried, we applied the stickers. Instructions for this procedure are provided below.
Steps:
- After gathering a range of paints, start dipping your fingers into each hue until the entire page is covered.
- We completed one page with white, silver, and gold. The other page was only a collection of vibrant hues.
- Put on big stickers.
- That’s it!
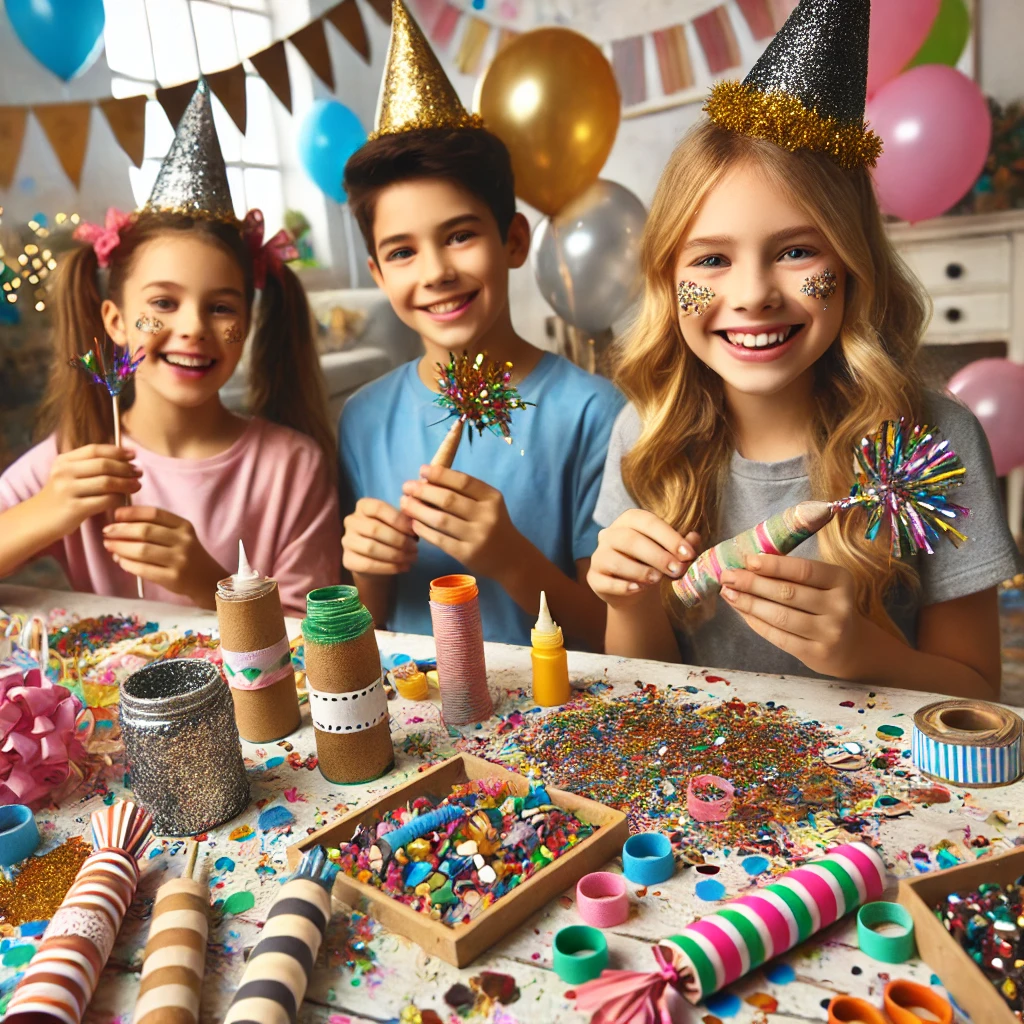
6. Party Poppers
Children will adore this Party Popper craft’s 3D look and vibrant color explosion, which may be used to create greeting cards or displays. Additionally, it’s ideal for birthdays and other festivities.
New Year’s Eve Party Popper Craft Tutorial
Our Paper Plate New Year Rockers would also be a great match for this printable New Year’s Eve activity. They are a lot of fun and move from side to side. Additionally, why not combine them with our Free Printable Party Hats for New Year’s Eve?
Materials for New Year’s Eve Party Popper Cards:
- Free New Year’s Eve Craft PrintablesMarker Pens
- Colored Cardstock
- Tissue Paper Confetti Rounds
- Ribbon
- Glue
- Scissors
- Sticky Tape
How to Make A Party Popper New Year’s Eve Craft For Kids
- The free printable party popper templates can be downloaded and printed.
- You may either color them in or create your own and cut them out.
- To create your drawcord, fold the two outer corners under and attach a short piece of ribbon to the back with sticky tape.
Party Popper – New Year’s Eve Craft For Kids
Kids, this party popper craft for New Year’s Eve is a lot of fun! They will adore the 3D illusion and the vibrant display of colors!
Using the FREE PRINTABLE TEMPLATE, creating this party-popper New Year’s Eve craft is incredibly simple and will make your New Year’s festivities a huge success!
There are two sizes available for free party popper craft download. Therefore, you have the option of making a large or small one.
There is a ready-decorated tube and a plain tube available for both types. Kids can use the basic version to create their own party popper cards, or they can just print, color, and adhere the embellished version.
In either case, they will enjoy this vibrant and entertaining confetti party popper craft as you welcome the new year.
Kids can enjoy this beautiful New Year’s Eve DIY project on the actual day or as the year draws to a close.
You may display your party poppers or use them to make greeting cards for the new year.
With this entertaining party popper project, everyone will love ringing in the New Year!
New Year’s Eve Party Popper Craft Tutorial
Our Paper Plate New Year Rockers would also be a great match for this printable New Year’s Eve activity. They are a lot of fun and move from side to side. Additionally, why not combine them with our Free Printable Party Hats for New Year’s Eve?
Materials for New Year’s Eve Party Popper Cards:
- Free Printables for New Year’s Eve Crafts
- Marker Pens
- Colored Cardstock
- Tissue Paper Confetti Rounds
- Ribbon
- Glue
- Scissors
- Sticky Tape
How To Make A Party Popper New Year’s Eve Craft For Kids
- Get the free printable party popper templates and print them out.
- You may either color them in or create your own and cut them out
- To create your drawcord, fold the two outer corners under and attach a short piece of ribbon to the back with sticky tape. 4-If you are creating a greeting card for the new year, fold a piece of A4 cardstock in half, then use the folded tabs to glue the miniature party popper onto the front.
- You can adhere the larger party popper on a piece of unopened A4 cardstock if you’re creating a picture.
- Adhere your tissue paper confetti rounds with glue. (If you’d like, you can add sequins or glitter.)
We wish you a very happy new year and sincerely hope you enjoy your New Year’s Eve party popper craft activity!
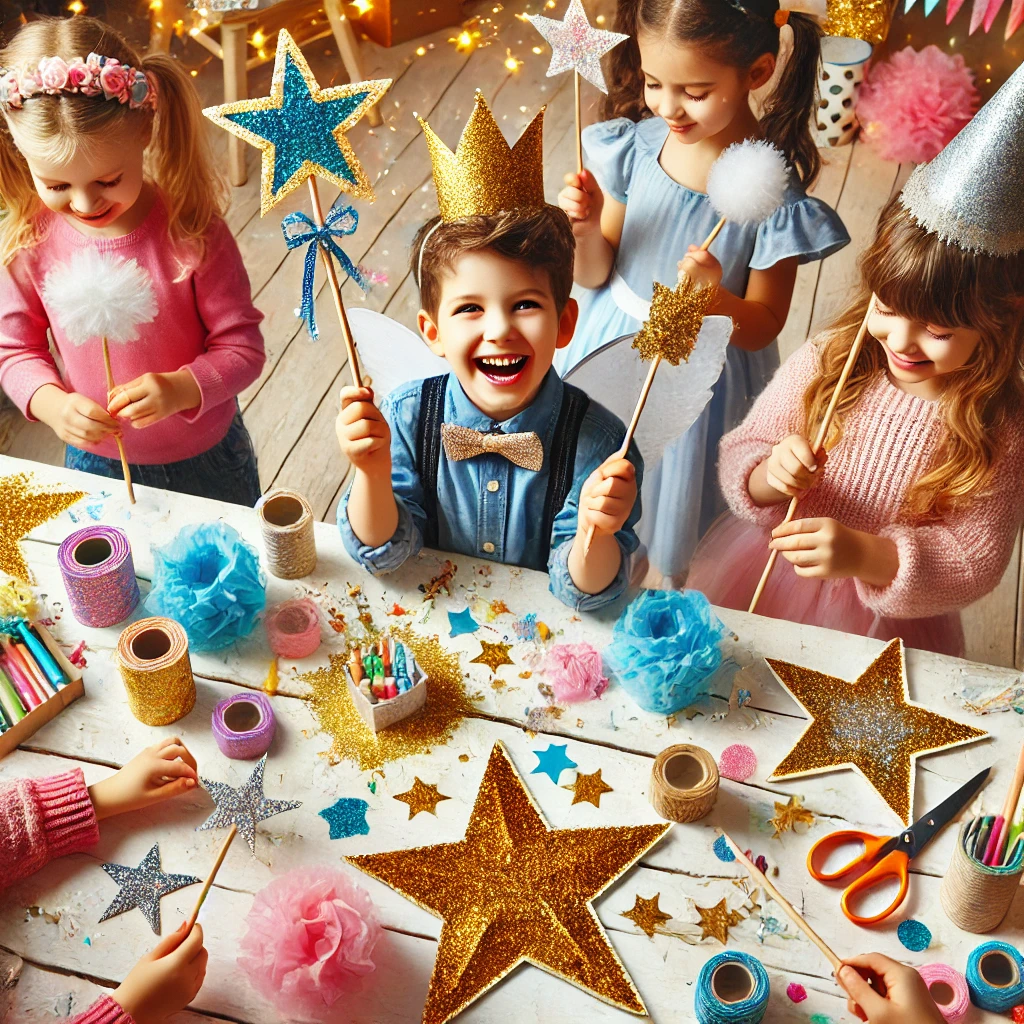
7. Wishing Wand
Making wishes for the upcoming year is a custom for many New Year’s Eve festivities. Kids can perform this with their own Wish Wand, which is a terrific way to use old wrapping paper or spare paper from other projects.
Materials for the New Year Wishing Wand Craft for Kids
- Popsicle Stick
- Tissue Paper
- Scissors
- Glue
How do I Make a New Year’s Crumpled Paper Wand?
To begin this easy preschool project, all you need are the following directions and a few basic materials.
Instructions:
Step 1:For this creation, you can use any leftover craft paper. Cut a variety of colored construction papers into little pieces. Make an effort to maintain a fairly uniform size.
Step 2: Take a cutout of paper and compress it into a tiny ball. To finish the craft, crumple enough sheets.
Step 3: Sketch a five-point star on paper, then carefully cut it out.
Step 4: Adhere the rumpled paper balls on the paper in the shape of a star. You can begin at any point, but we began adding the crumpled ball forms from the star’s core.
Step 5: Add the crumpled paper balls one by one until the entire star shape is properly filled.
Step 6: Attach a popsicle stick to the created star.
Step 7: Cut off a few strips of paper and affix them to the star’s back.
Throughout the New Year, let your youngster use their wishing wand to fulfill their wishes.
8. Countdown Clocks

These clocks are a fantastic method to practice telling time and let eager kids count down to midnight! Try using them to count down to a birthday as well as for the New Year. This project is an excellent way to recycle obsolete CDs.
Supplies needed:
- Number stickers in a variety of colors on thicker paper or papers from old CDs
- stickers with stars or other ornamental designs
- paper cutters, glue, and fasteners
- glass and a pencil
Steps:
- To begin, place your drinking glass on a piece of colored paper and draw a circle around it. Cut out a CD and adhere it in the middle. Using the pencil tip, make a tiny puncture in the center of the paper.
- Next, cut out an arrow form on a different piece of colored paper. Simply trim the end to fit if it’s too long. About â…” of the way from the bottom, punch another tiny hole in the center with your pencil. Using a paper fastener, attach your arrow to the CD’s circular piece of paper.
- To finish your clock, apply your decorative and number stickers. Then prepare! This is the last countdown!
9. Paper Plate Party Hats
Have a ton of extra party plates? Make party hats out of them; they’ll look great at any gathering. Children will adore using paint, glitter, pompoms, sequins, and tassels to give their hats personality!
Easy Paper Plate Party Hats: Materials and Tutorial
- Paper Plates
- Paint
- Glitter/Sequins
- Pom-Poms
- Stapler
- Paintbrush
- Scissors
Steps:
Step 1: Paint the paper plates as the first step!
The use of vivid, contrasting colors is something my crafty kids adore. Frequently create their own by combining paint straight on the paper plate and using brushes and overlaying squiggles.
Step 2: An optional extra
Now is the perfect moment to add glitter if you’re a glitter fan!
Allow the paper plates to dry as well.
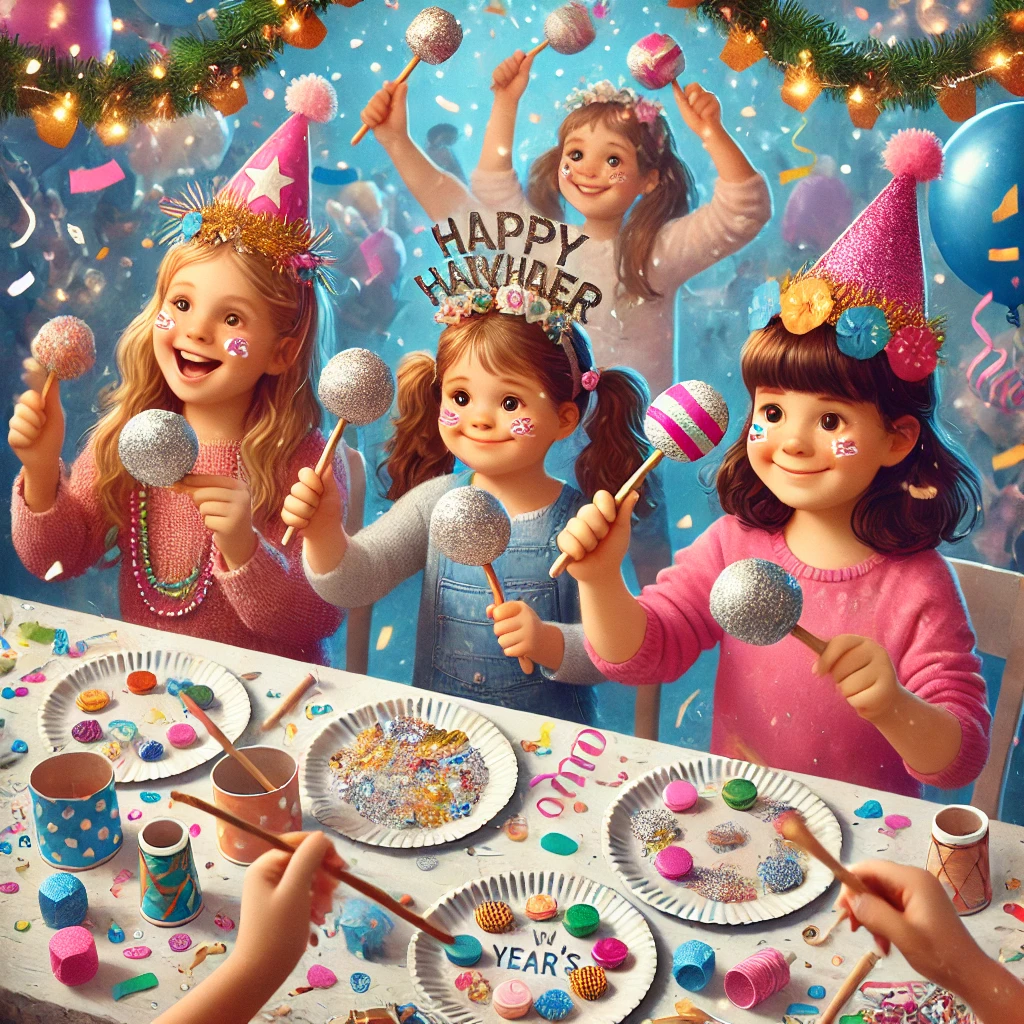
10. Noise Makers
These entertaining Noise Makers are a fantastic way to use leftover party plates for a New Year’s Eve activity. Raise the roof and create some noise. Children can use their imaginations to decorate, adding color, glitter, or whatever else they choose. Try the ‘noise’ of uncooked pasta, popcorn, or beans.
Making your noisemaker is a fantastic way to start the new year. The ideal addition to our Noon Year’s Eve Kids Party, this quick and simple kids’ project is entertaining. made with materials you probably already have.
Here’s what you’ll need to make your own DIY Noise Makers:
- Paper plates can be adorned with stickers, markers, washi tape ribbons, glitter, or any other type of decoration. Even leftover sequins have been used by me.
- For the noise, you can put popcorn, beans, raw pasta, rice, or beads on the plates.
- Sticks of craft
- Dots of glue
- Stapler
Steps:
Step 1: Decorate two paper plates’ bottoms. This serves as the exterior of your noise maker, so decorate whatever you see fit. The fun part is here!
Step 2: Apply a dot of glue to one of the paper plate’s inside edges. To secure it, place a craft stick on top of it and press down.
Step 3: Fill the platter with corn. Cover with the other plate.
Step 4: Use glue dots or a stapler to secure the plates to one another.
And when New Year’s arrives, the kids are prepared to create a stir!
11. Balloon Drop
Use a homemade balloon drop to recreate the enchantment of a large New Year’s Eve countdown.
Materials:
- The balloons
- A sizable plastic tablecloth
- Netting
- Tape
- String
Instructions:
- Inflate several balloons.
- To keep the balloons in place, use netting or a huge plastic tablecloth.
- Leave one side of the tablecloth open and tape or hang it to the ceiling.
- Release the balloons for a joyful and celebratory moment at midnight (or your chosen countdown time)!
12. Glow-in-the-Dark Jars
Using glow-in-the-dark jars, add a little enchantment to the evening.
Materials:
- Mason jars or plastic jars
- Glow sticks
- Glitter (optional)
Instructions:
- Cut open the glow sticks carefully after turning them on (adults only).
- If desired, add glitter after pouring the glowing liquid into the jar.
- Tightly seal the jar and shake to combine.
- Watch your jar sparkle after turning off the lights!
13. Bubble Wrap Stomp
Give your kids a bubble wrap stomp to start the new year.
Materials:
- Bubble wrap
Instructions:
- Put bubble wrap on the floor.
- Let the children stomp and pop as much as they like.
- It’s a simple and fun way to celebrate!
14. New Year’s Eve Crowns
To make your children feel like kings and queens, make your crowns.
Materials:
- Cardstock
- Scissors
- Glitter, stickers, and other decorations
- Tape or glue
Instructions:
- Cut cardstock into crown shapes.
- Apply stickers, glitter, and other embellishments to the crowns.
- To make it suit your child’s head, tape the ends together.
15. Handprint Fireworks
Create a memento using handprint fireworks.
Materials:
- Paint
- Large paper or canvas
Instructions:
- Encourage kids to dip their hands into vibrant paint.
- To make fireworks, they press their palms in a circle onto the paper.
- Use a paintbrush to add glitter or additional accents.
- After drying, present it.
16. Time Capsule
Make a time capsule that will be opened on New Year’s Eve of next year.
Material:
- A little container or box
- Markers or paper pens
- Pictures or tiny keepsakes
Instructions:
- Ask your children to write or illustrate their favorite memories from the last year.
- Include pictures or tiny keepsakes.
- Decorate the container after sealing it.
- To open the following year, keep it in a secure location.
17. Star Garlands
Use star garlands to give your house a festive feel.
Materials:
- Construction paper or cardstock
- String or ribbon
- Scissors
- Glue or tape
Instructions:
- Cut out the paper in the shape of stars.
- Apply paint or glitter to the stars to adorn them.
- Tie the stars to a ribbon or string.
- Display the garland throughout your house.
18. Photo Booth Props
Use do-it-yourself props to set up a photo booth for New Year’s Eve.
Materials:
- Cardstock
- Markers or paint
- Wooden sticks or straws
- Glue
Instructions:
- Cut cardstock into shapes such as speech bubbles, caps, and glasses.
- Adorn the shapes with whimsical patterns and phrases.
- Straws or wooden sticks can be attached to the back.
- Make crazy pictures using the props!
19. Paper Fortune Cookies
To share entertaining New Year predictions, make paper fortune cookies.
Materials:
- Coloured paper
- Scissors
- Markers
- Tape or glue
Instructions:
- Cut the colored paper into rounds.
- On little pieces of paper, write amusing messages or fortunes.
- Place the fortune within the folded paper circle.
- Use a tiny bit of glue or tape to secure it.
20. New Year’s Wish Jars
Using a wish jar, encourage children to consider their goals for the upcoming year.
Materials:
- Tiny containers or jars
- Paper strips
- Markers or pens
- For decoration, use washi tape or stickers.
Directions:
- Give strips of paper and a container to every youngster.
- Request that they use the paper to write or illustrate their aims and desires for the upcoming year.
- After folding, put the strips in the jar.
- Use washi tape and stickers to adorn the jar.
- Find out which wishes were fulfilled by opening the jars at the end of the following year!
21. Quick DIY New Year Tabletop Festive Decor
With the help of this project, kids may make their own customized tables by following a step-by-step making adventure. They will develop their artistic expression by learning about color schemes and design principles. Additionally, they will have a great sense of accomplishment after finishing this artwork.
Give your children supplies like pencils, fine art brushes, paper plates, and Rangeela Tempera colors.
Allow your children to go on an adventure by using our comprehensive guide to this New Year’s activity.
CONCLUSION
In addition to being fun, these kid-friendly New Year’s Eve crafts are a great way to make enduring memories as you start a new year. These New Year’s craft ideas are a great way to get your kids involved in the celebrations while encouraging their creativity and giving them the chance to acquire new skills and do art and craft projects. Children can develop their problem-solving skills, improve their fine motor skills, and explore their imaginations via crafting. Indulge in these Fevicreate New Years crafts for kids, strengthen your family ties, and start making happy memories while covertly supporting your children’s amazing development.
These activities will add excitement and delight to your party, whether you’re creating clocks, noise makers, or fireworks art. Happy New Year, get your materials together, and let your imagination go wild!
